About Dapper Design
I'm a builder at heart. Most of what I make starts the same way: a specific challenge in a specific industry, sometimes mine, sometimes a friend's. I look around for an off-the-shelf fix, find that nothing quite fits, and design one. If it works well enough that I'd buy it from someone else, I make it available to anyone else dealing with the same itch.
Dapper Design isn't trying to serve everyone. The products here are aimed at the operator, builder, or hobbyist who already knows what they need and has been frustrated by what's available. If you're that person, you'll know it pretty quickly.
This is a small shop. A designer, a handful of well-tuned 3D printers, and a proper commercial workshop. Not a factory, not a basement, not a brand. Just somebody who likes solving problems and is willing to print and ship the result.
Current Product
Horizontal Rolling Can Rack for the HAHA Vending Pro Smart Cooler (Max 620-AI)
A gravity-fed can rack that fits 14 cans per column instead of the stock 12. Designed and tested specifically on the HAHA Max 620-AI and its shelves.
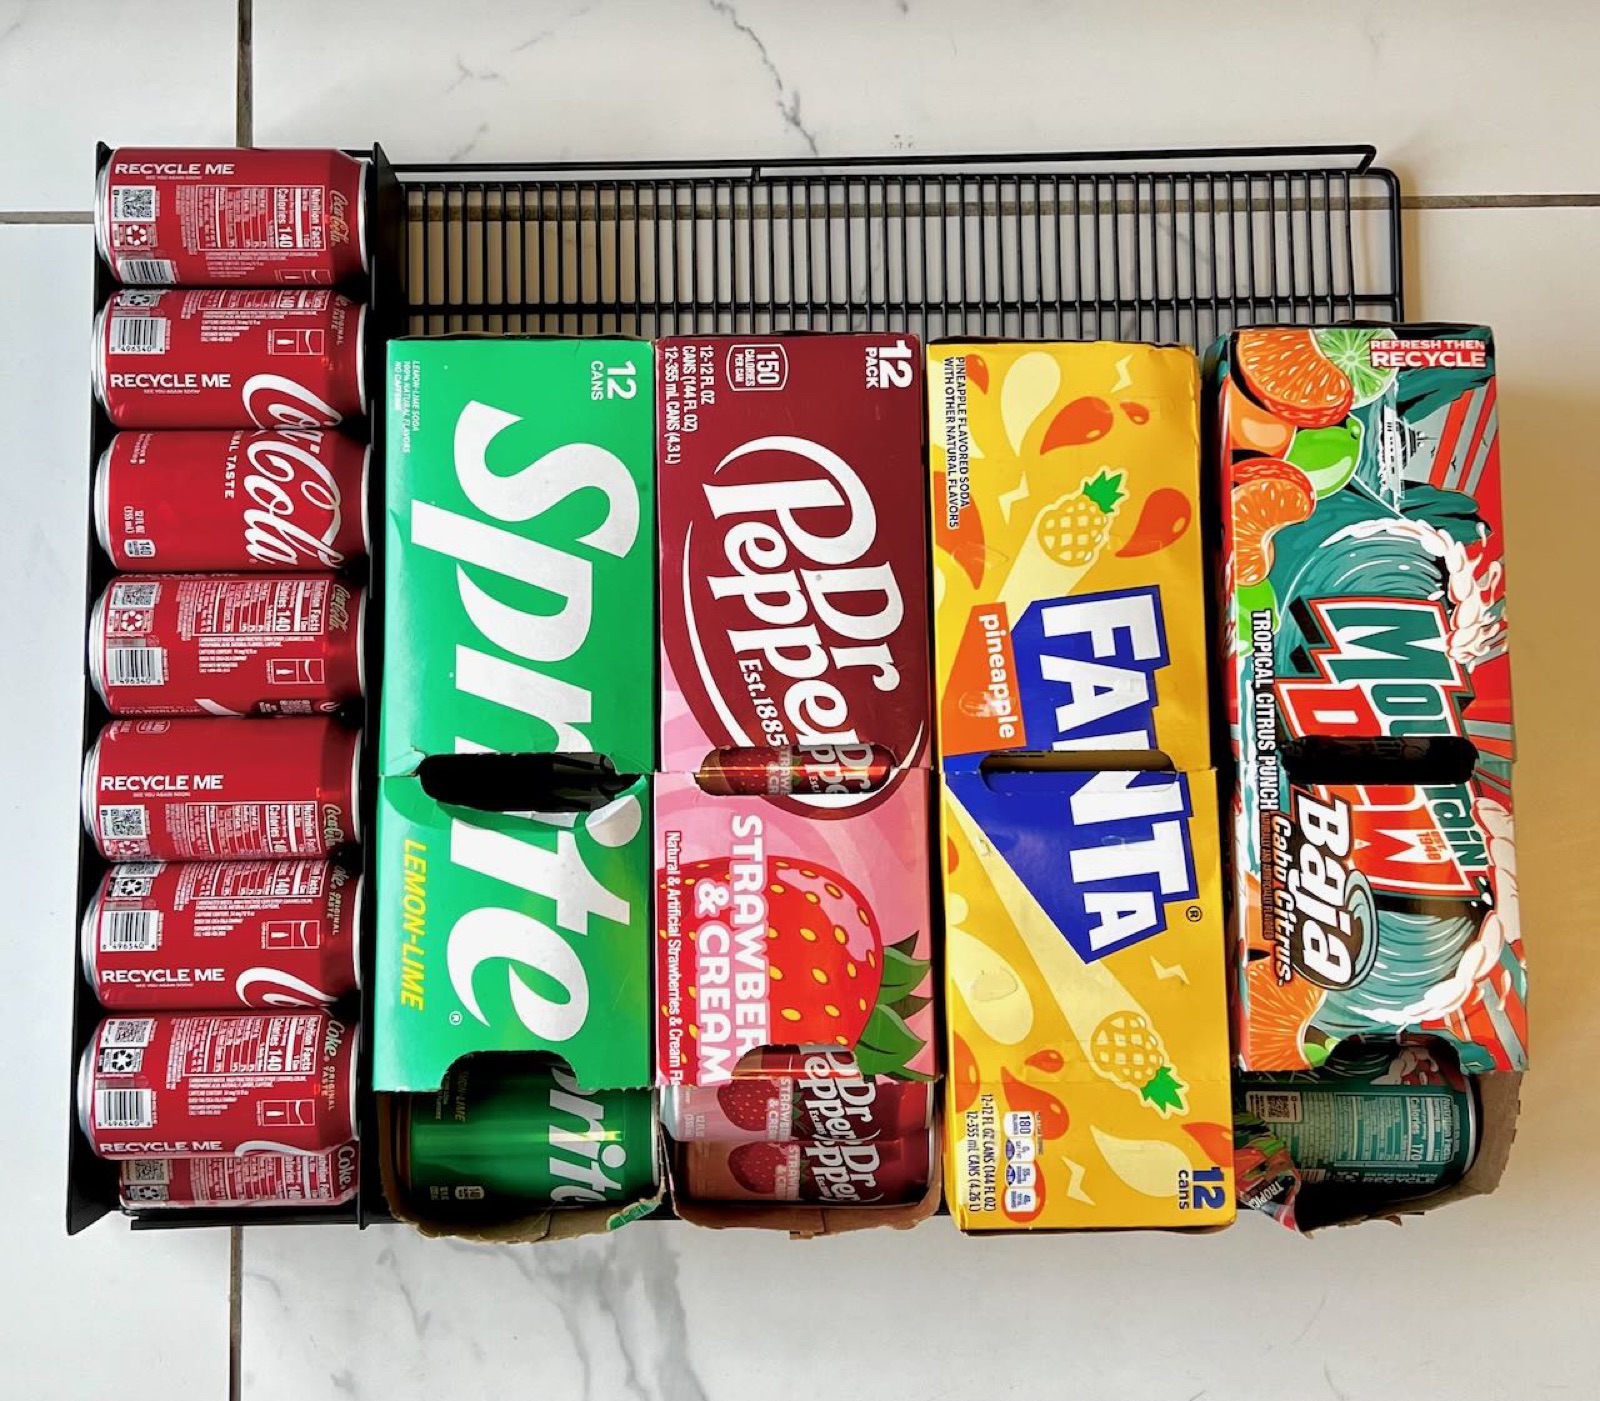
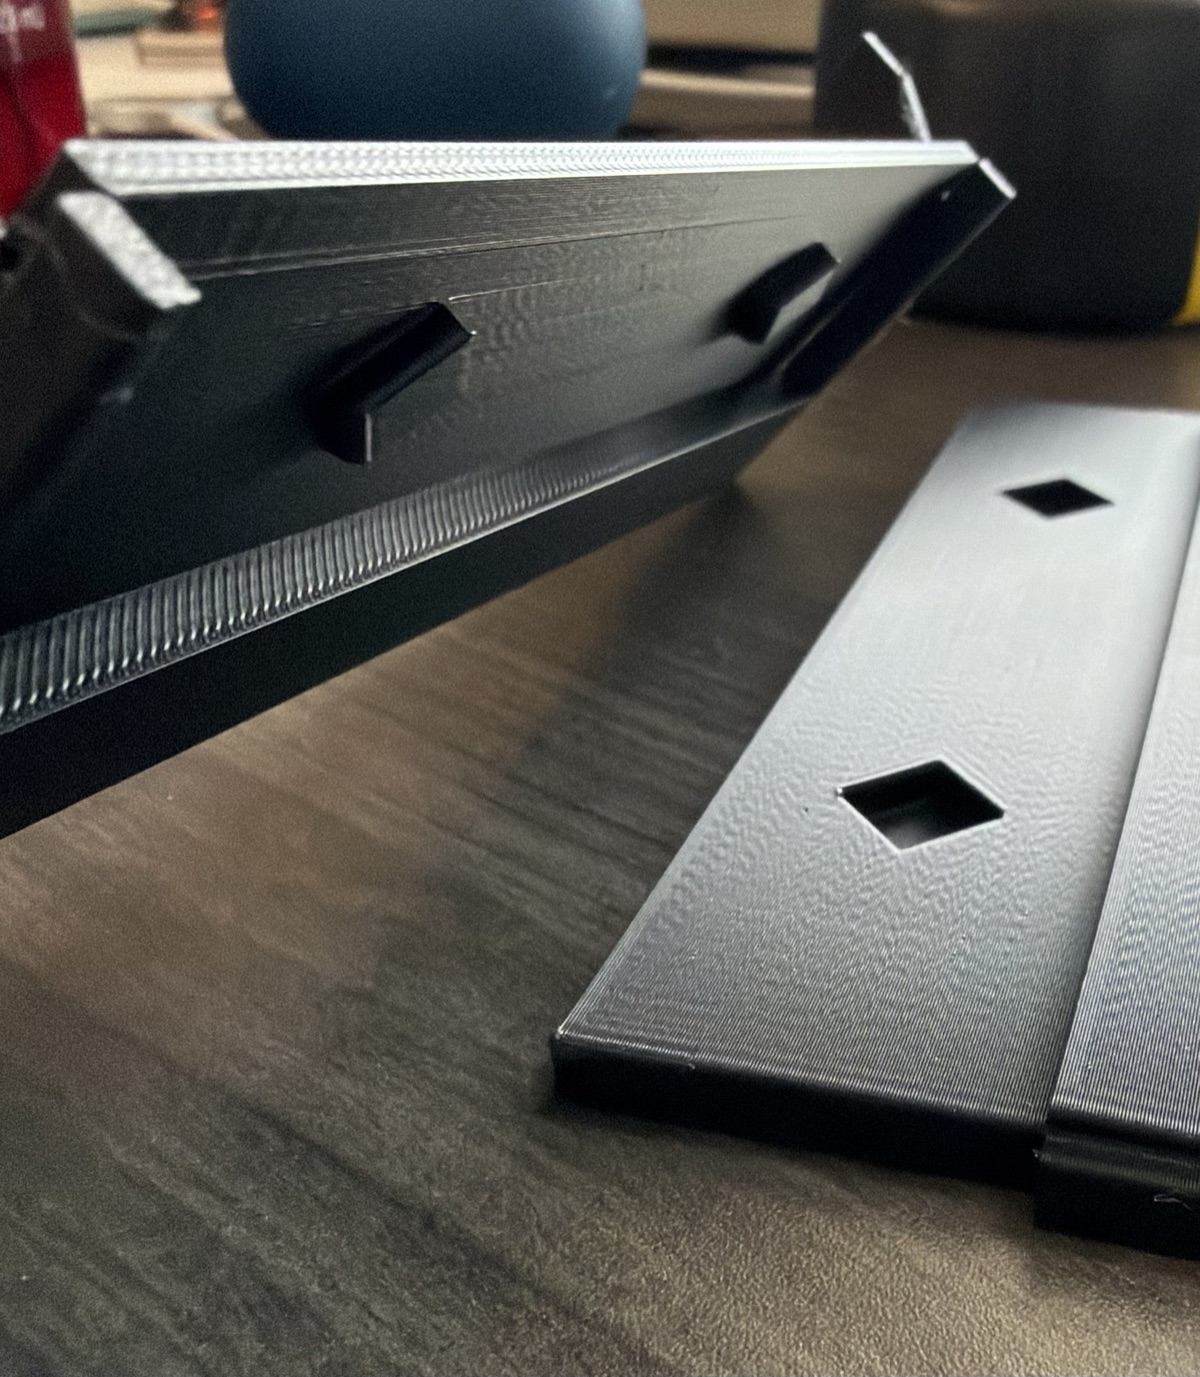
Same shelf footprint: the rack on the left vs. four traditional cardboard 12-packs on the right. The wasted space is what gets you to 14 cans per column instead of 12.
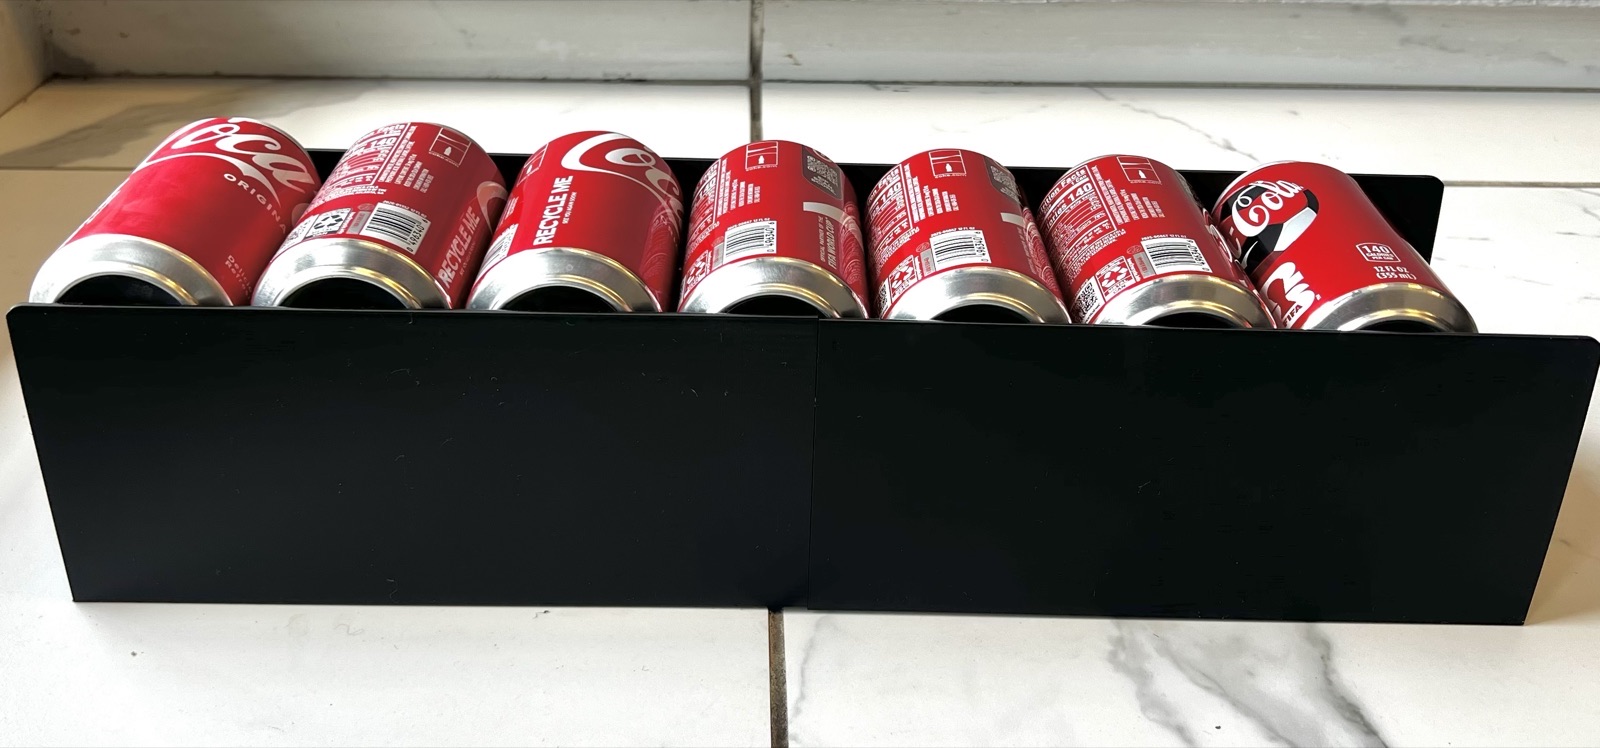
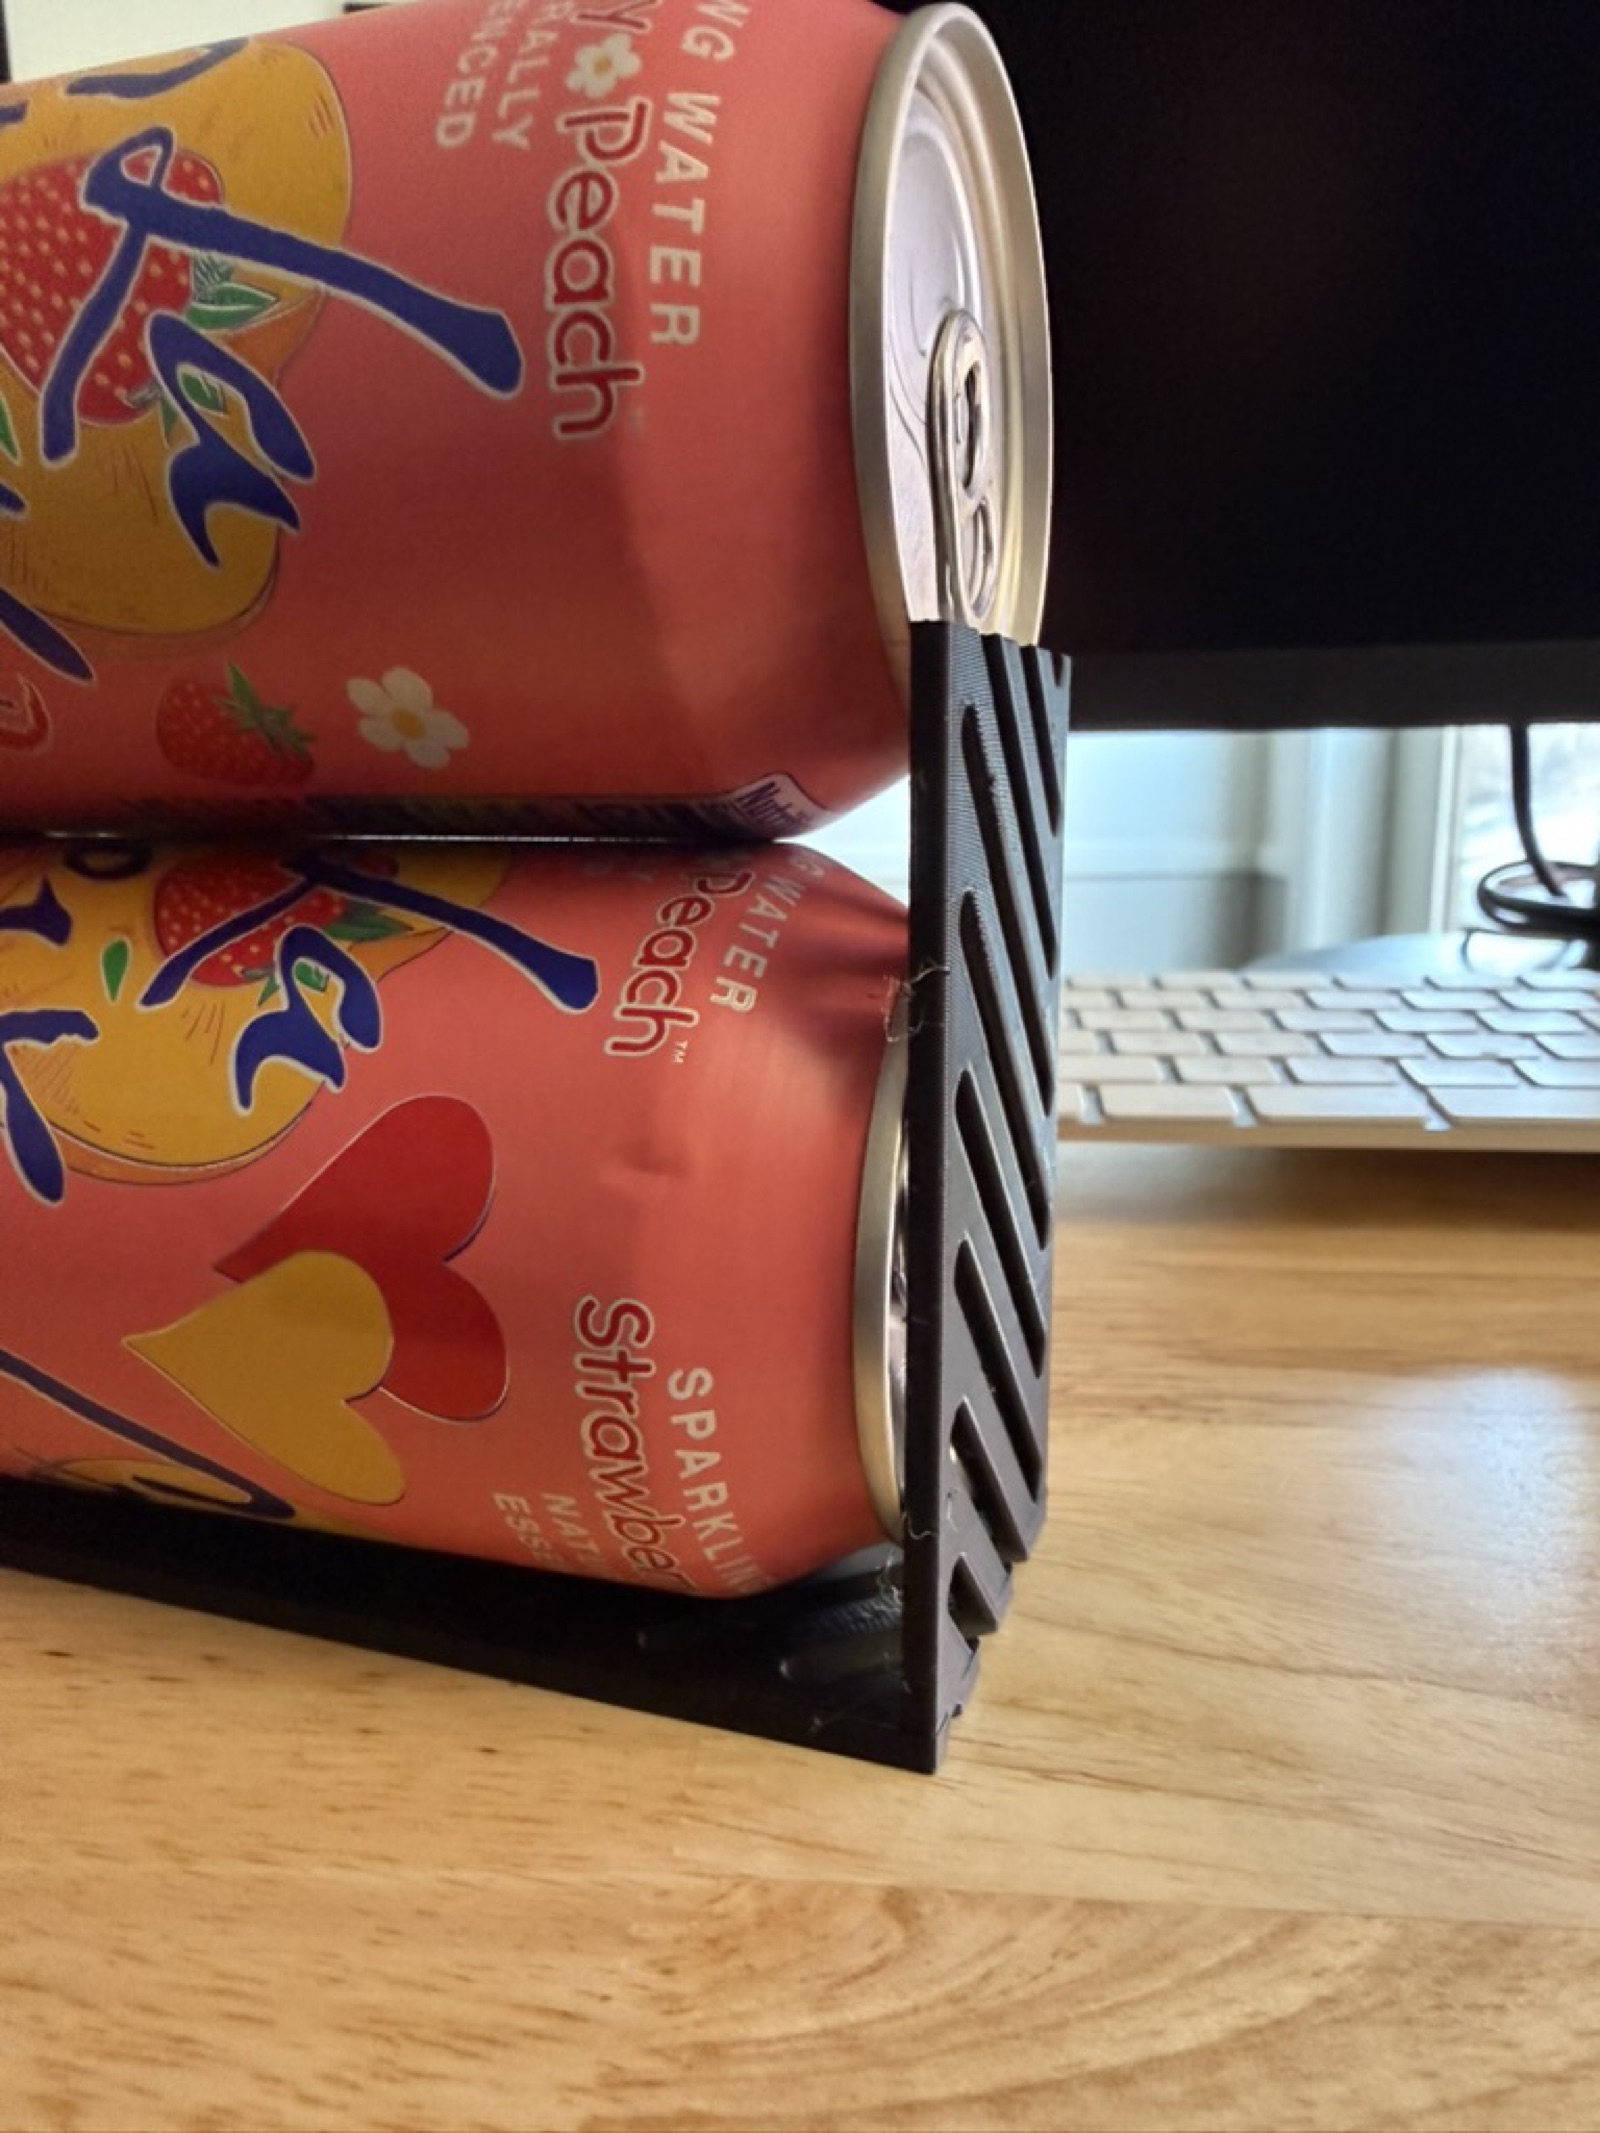
Loaded with cans, with the two halves pressed together at the center seam
This rack started as a design challenge from a friend who runs a vending machine business. He was tired of the 12-cans-per-column ceiling on his HAHA Max 620-AI coolers, and we partnered up to solve it. Designed for his machines, tested on his actual routes. When he posted the result on Facebook, other operators asked how to get one. That's how it became a product instead of a one-off.
If you operate a HAHA Max 620-AI, you already know the math: the stock spring-pusher setup gives you 12 cans per column. That's fine until you're servicing the machine more often than you'd like, or watching a popular SKU sell out between visits. The rolling rack reclaims the space the pusher hardware was using and replaces it with a simple gravity-fed ramp. Cans roll forward on their own as the front one is dispensed. End result: 14 cans per column, no moving parts, faster reloads.
The rack is designed and tested specifically for the HAHA Max 620-AI and its shelves. Dimensions, ramp angle, and the front lip were all dialed in against that machine, not adapted from a generic shelf. Other HAHA models may have the same shelf dimensions, but I haven't verified yet — if you're running a different HAHA unit or a different cooler entirely, reach out and tell me what you're running.
Two-Piece Press Fit
The rack ships as two printed parts that press together into one assembly. Takes seconds. No tools, no glue, no fasteners, no unsightly zip-ties holding things together. The fit is engineered into the parts.
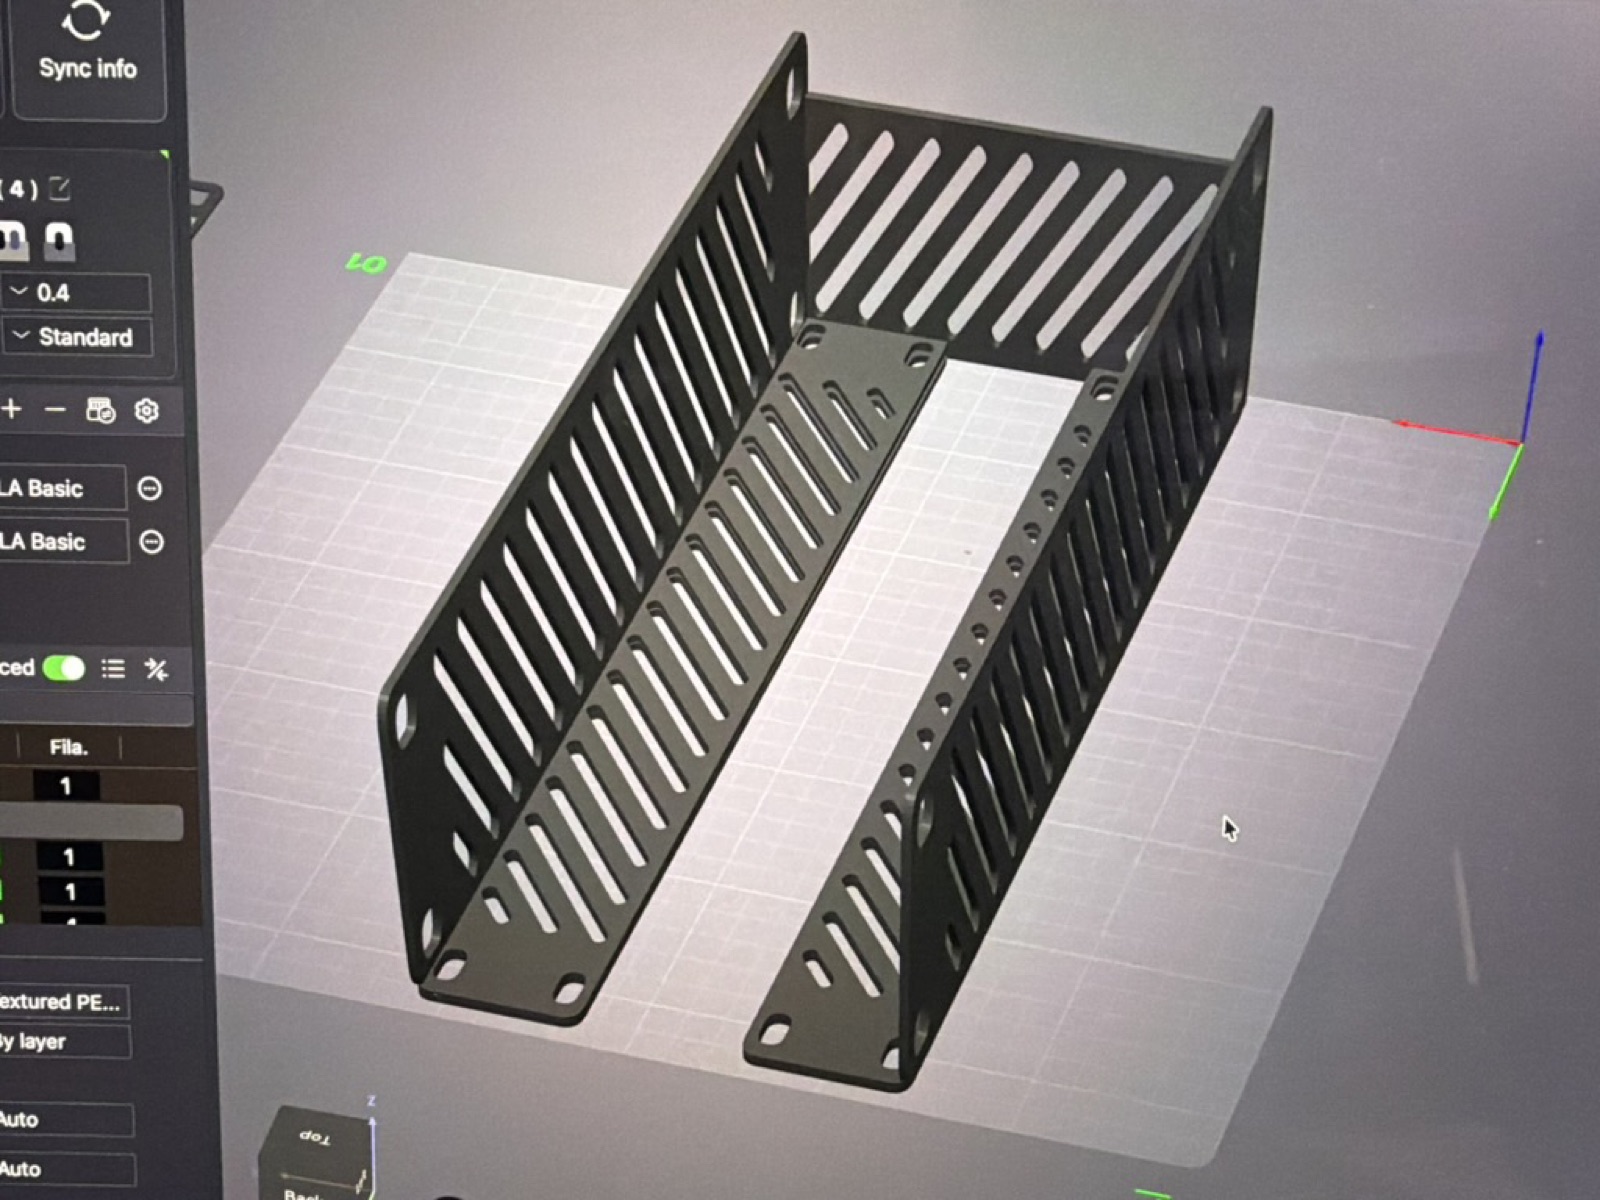
Two-piece press fit. Takes seconds, no tools.
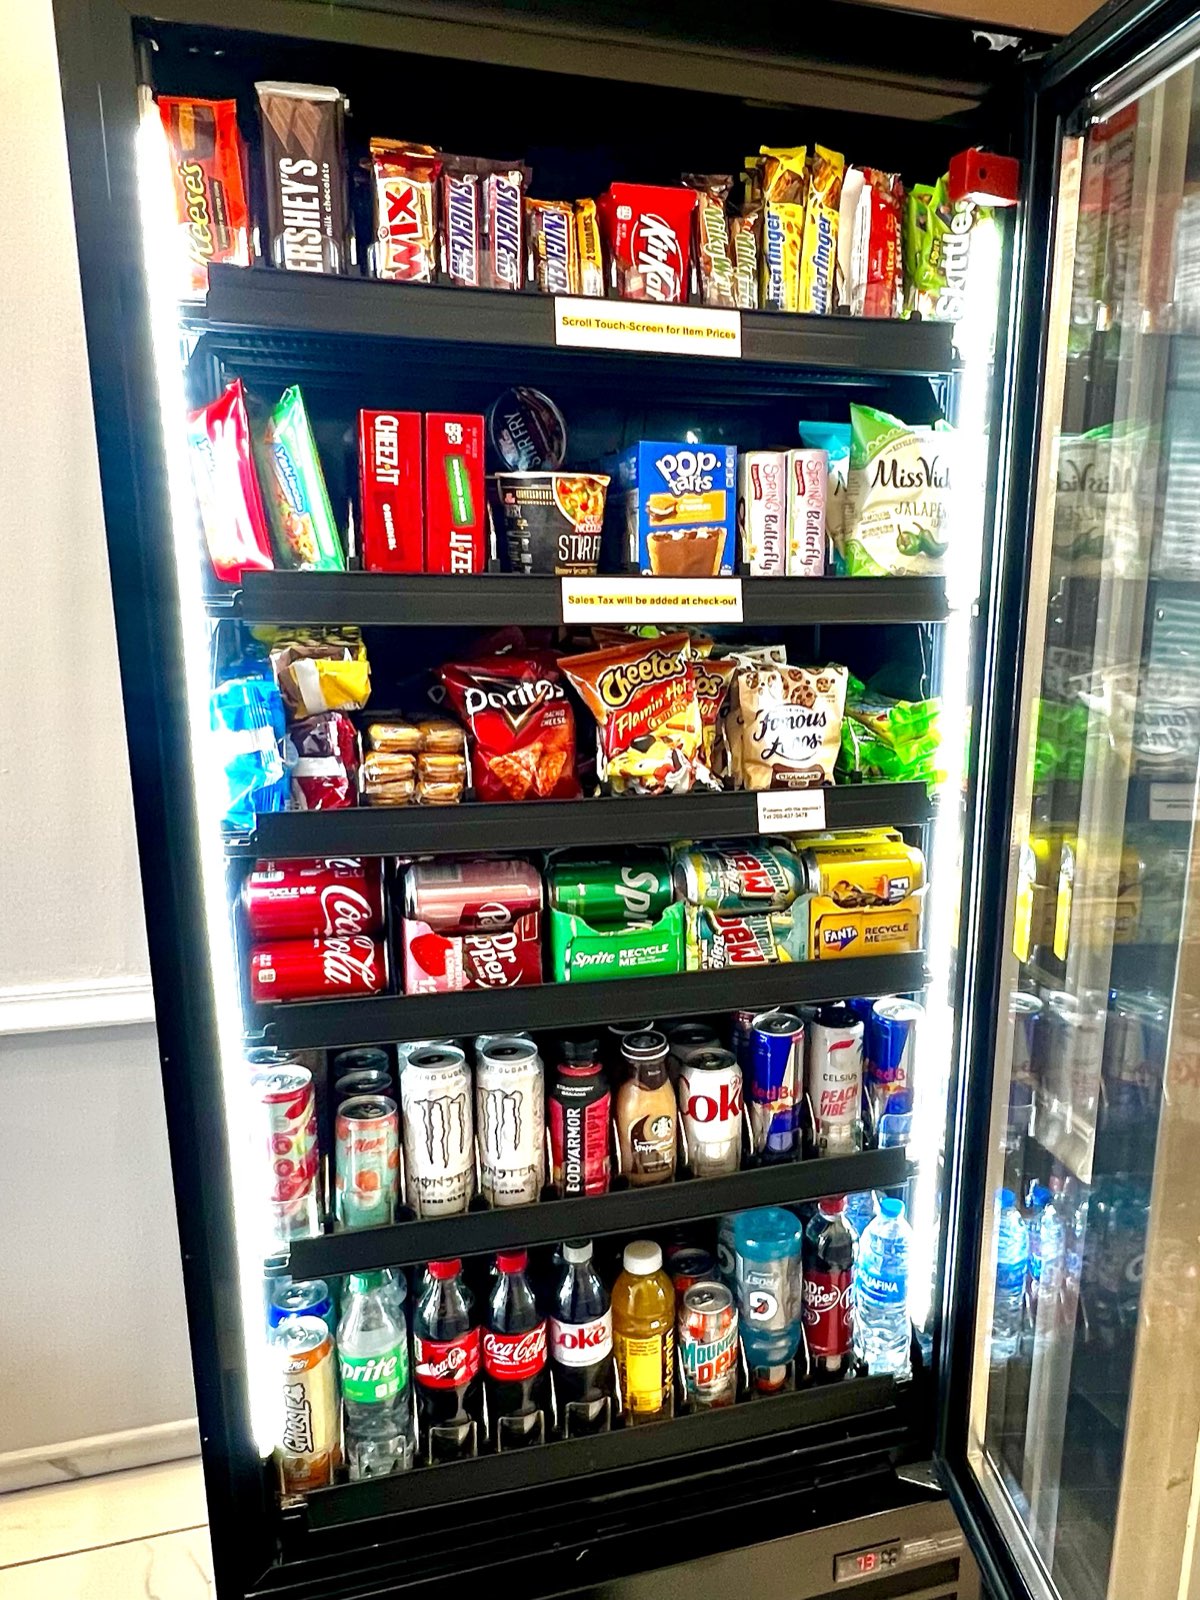
Wider view of the same HAHA Max 620-AI the rack is designed for
Why It Ships in Two Pieces
The full rack is bigger than the build plate on a standard desktop printer like a Bambu X1C. The larger half is sized for a wide-format machine in the Bambu H2 series. Splitting it in two is what makes the design feasible on consumer-grade printers in the first place, instead of requiring an industrial machine. The two halves also fit together compactly for shipping, in a smaller box than the assembled rack would need, which keeps your cost down. And the press fit is solid enough that the assembled part behaves like a single piece in your machine.
Handling & Care
This is a 3D printed part, not an injection-molded one. It's strong in normal use (loaded with cans, vibration, daily reloads), but it doesn't love being dropped, twisted, or pried out by an edge. Because it's a press-fit assembly, support both halves from underneath when you lift it; gripping just one side can pull the joint apart. You can remove it loaded with cans, but do it with care: lift evenly from the base, never by the side rails.
At a Glance
- Designed for: HAHA Vending Pro Smart Cooler, Max 620-AI model (tested against Max 620-AI shelves)
- Capacity: 14 standard 12oz cans per column (vs. stock 12)
- Mechanism: Gravity-fed ramp, no springs, no pushers
- Assembly: Two-piece press fit, no tools required
- Assembled dimensions: 500 × 130 × 115 mm (19.7" × 5.1" × 4.5")
- Material: PLA
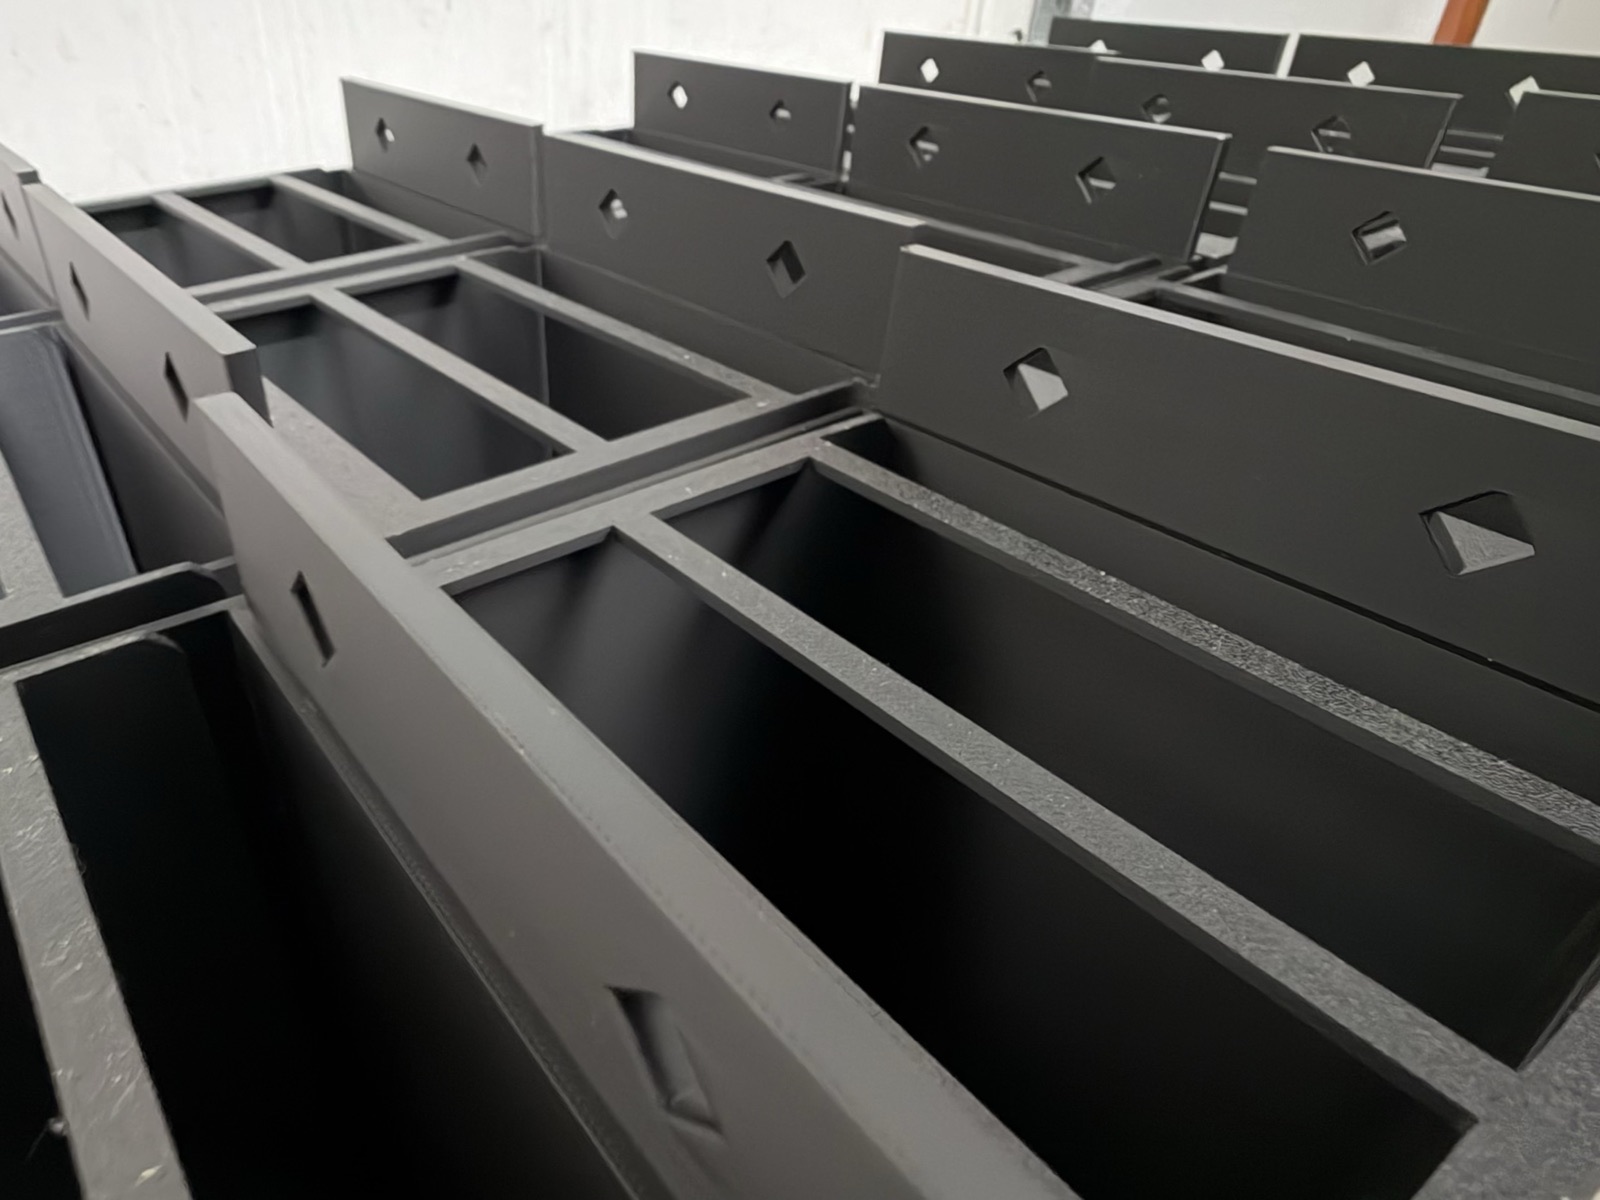
A current run, ready to ship. We keep small batches on hand so orders go out quickly.
Before you order, especially if this is your first 3D printed product, take a minute with What to Expect from a 3D Printed Part. We want you to know what's in the box before it arrives.
Outfitting a full shelf? See our 5-pack →
STL Files for People Who'd Rather Print It Themselves
For some products, including this one, I also sell the STL / 3MF files directly. If you've got a capable printer and would rather run your own copies, that's an option. The license is intentionally simple, and intentionally narrow: it's for you, for your own use, including using printed copies in your own business operations.
Plain English
Buy it, print it, use it in your own business as much as you need.
- Don't resell, share, or repost the file.
- Don't print copies to sell to other people.
- Don't use it to run a 3D printing or print-on-demand service.
Print Specs
- Part A: 115 × 130.3 × 249.9 mm
- Part B: 115 × 130.3 × 279 mm
- Filament: 451.64 g total (PLA, our preferred settings)
- Print time: ~10h 26m for both parts together on a Bambu H2S (H2C is 10h 34m)
- Printer: larger part exceeds the build plate of a typical consumer 256x256x256mm build volume, so it requires a larger-format machine (Bambu H2 class)
Numbers are from our reference setup. Your print time, filament use, and surface finish will vary with your printer, material, and slicer settings.
Full terms: LICENSE.md. If your use case is a little different from what's described above, send me a note and we can discuss other options. Commercial-printer licensing is something I'm open to talking about.
Curious what's behind the price? See Why It Looks Simple.
Before you buy: this is a design file (STL + 3MF in a zip), not a finished product.
Your results depend on your printer, your filament, your slicer settings, and your experience. The print specs above are what work for us on a Bambu H2S. They're a starting point, not a guarantee. The press-fit joint is the sensitive part: if your printer over- or under-extrudes, the two halves may not seat correctly without you tuning your flow rate.
If this is your first 3D print, this isn't the file to start with.
Files are delivered as-is. Digital downloads are not refundable once delivered, and we don't provide setup or troubleshooting support for your printer.
Why It Looks Simple
A quick word on price first, since it's a fair question. There are deeply talented designers in the 3D printing community giving away brilliant STL files for free. I've benefited from their work as much as anyone, and I plan to contribute free designs back over time. Free isn't "less than," and many free designs are better than mine.
This particular design is paid because it's built for businesses. Vending operators are running revenue through these machines daily, and the part has to hold up under that pressure. The free designs I plan to share later will be different in shape: home-use things with broad appeal, where the stakes and the engineering hours both look different. Pricing reflects the use case, not a quality hierarchy. The rest of this section walks through the work itself.
A part that works well in service ends up looking inevitable. That isn't how it starts. The version of this rack that ships today is the result of dozens of prints. Many failed outright. Many more worked but didn't feel right to us. Different material savings approaches, different ramp angles, different press-fit tolerances. Different filaments. Different print orientations. Each cycle answered one question and surfaced several new ones.
And "works" was never enough on its own. A real production part has to print easily and inexpensively too. Otherwise the unit economics fall apart and you can't ship at a price anyone wants to pay. So every revision had to satisfy a four-way constraint at the same time: strong enough to hold 14 cans through daily reloads and the cold, dimensionally correct for the HAHA Max 620-AI shelf, geometrically sound for FDM (no overhangs that need supports, no warping at the print sizes required), and quick enough off the printer to be worth running.
If you're looking at the final geometry and thinking "I could probably model this in an afternoon," you're right that you could model something. The hard part isn't the shape. It's finding the shape that behaves under load, on a real printer, in a real cooler, every day, at a print time that makes sense.
For context, I've spent more than 25 years as a software and reliability engineer, 15 in Silicon Valley, at names you'd recognize and likely use daily. The discipline I bring to the digital side (tight loops of testing, measuring, and iterating until the result actually holds up) pays off on every physical part that goes out the door here. When you buy this product, finished or as an STL, you're paying for the answer to all of that, not just the geometry.

Every one of these failed, broke, warped, didn't fit, or got replaced by the next revision. These photos are small slice of the iterations that produced the version that ships today.
The Lab
This is where Dapper Design's engineering happens: design, prototyping, test fitment, and the in-the-room iteration loop that catches problems before any part ships. It's a proper commercial workshop, not a corner of a basement or a spare bedroom: dedicated room, dedicated tools, dedicated time. A handful of well-tuned printers for prototyping and small runs, a real design station, and a filament library to match.
Larger production runs may print elsewhere depending on order size, but every design decision and every QA check is made here.
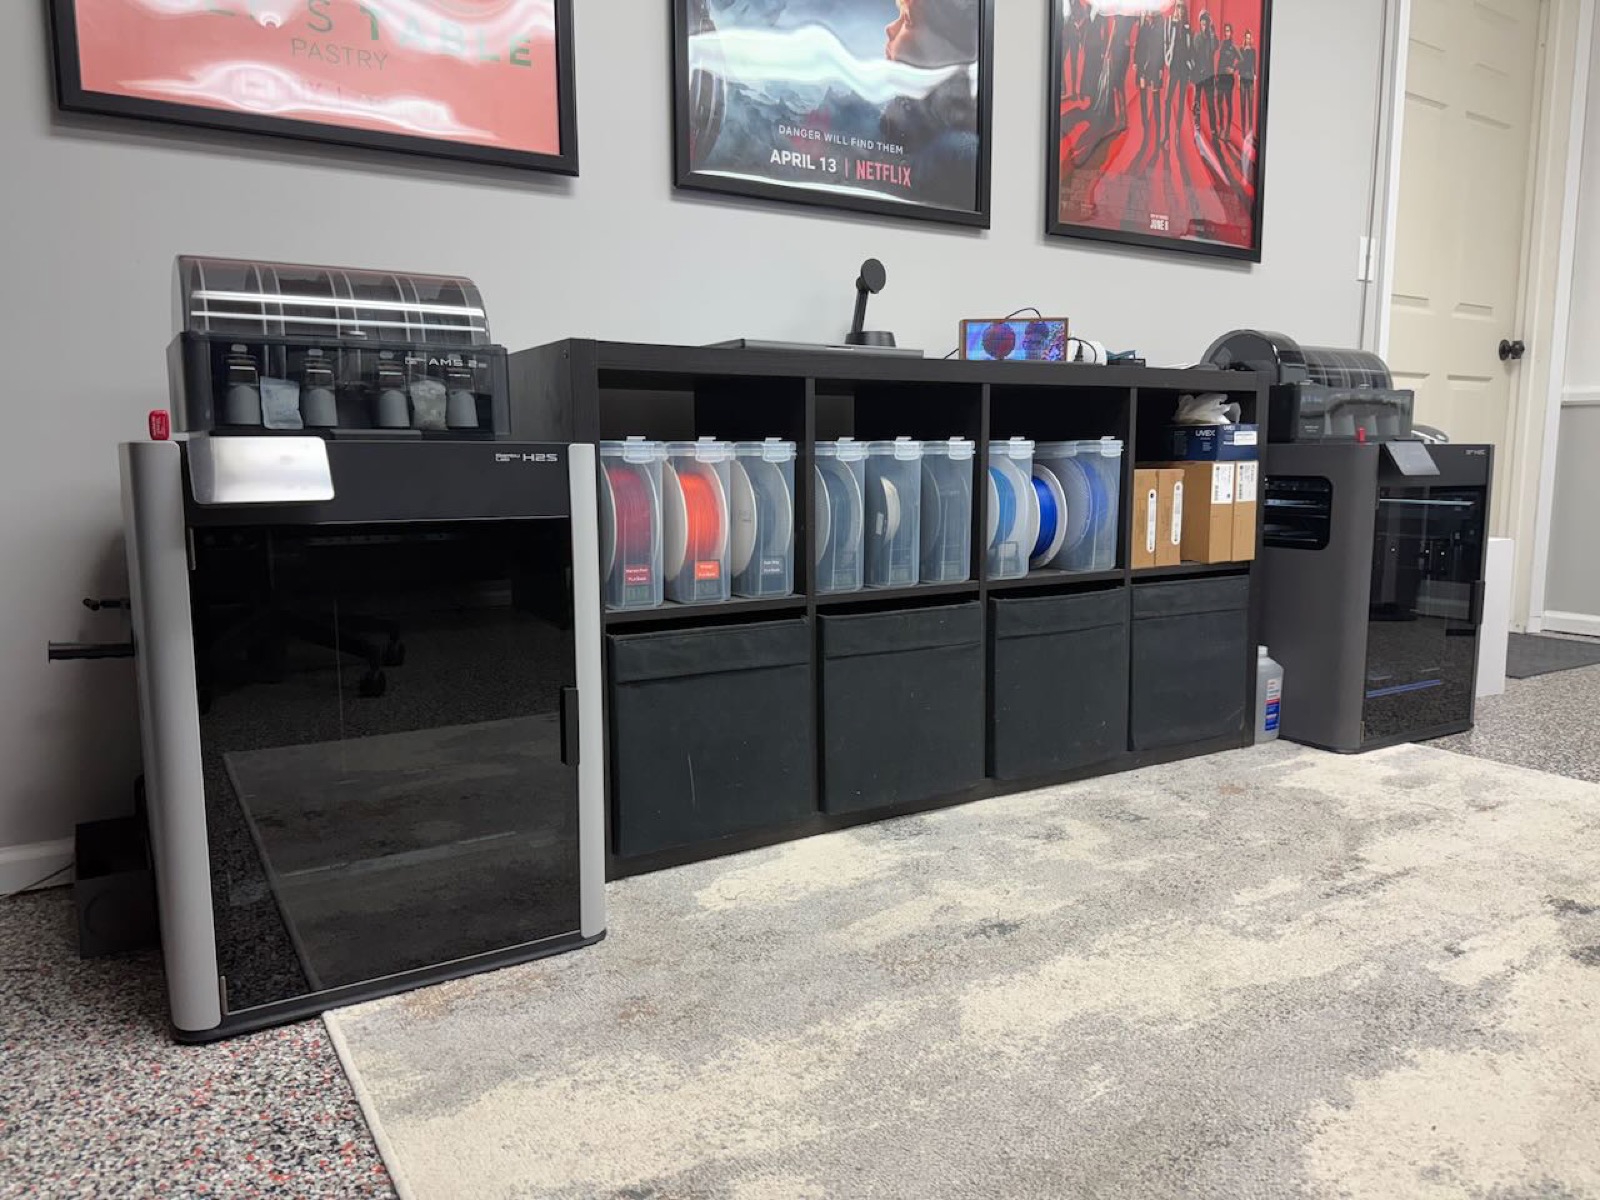
Where the design, prototyping, and testing happen
What to Expect from a 3D Printed Part
If you've never bought a 3D printed product before, here's the honest version of what you're getting. You'll see fine horizontal lines on the surface. That's the layer-by-layer printing process and it's normal. Color can vary slightly between runs depending on the filament batch. Surfaces that touched the build plate will look different from surfaces that printed in the air.
For products that ship in multiple pieces (like the can rack), the press-fit joint is engineered to be tight, so you may need a firm, even push to seat it the first time. Once together, it stays together.
None of this affects how the part performs in service. But if you're expecting something that looks like injection-molded retail plastic, this isn't that, and I'd rather you know upfront than be surprised.
Contact
Fort Wayne, Indiana